Creating Donors
Donors are the foundation of your donation management system. This guide will show you how to add new donors to DonorLog.
Overview
A donor record contains all the information about a person or organization that makes donations. This information is used for:
- Recording donations
- Generating tax receipts
- Sending email communications
- Tracking donation history
Make sure you have the donor's complete information ready, especially their mailing address for tax receipt compliance.
Required Information
When creating a donor, you must provide:
- First Name - The donor's first name
- Last Name - The donor's last name
- Phone Number - Contact phone number (optional; you can enter "unknown" if not provided)
- Address - Full mailing address
- City - City name
- Province - Province or state
- Postal Code - Postal or ZIP code
Optional Information
You can also include:
- Nickname - A preferred name or nickname
- Email Address - For sending receipts and communications
- Profile Photo - A photo of the donor (optional)
Step-by-Step: Creating a Donor
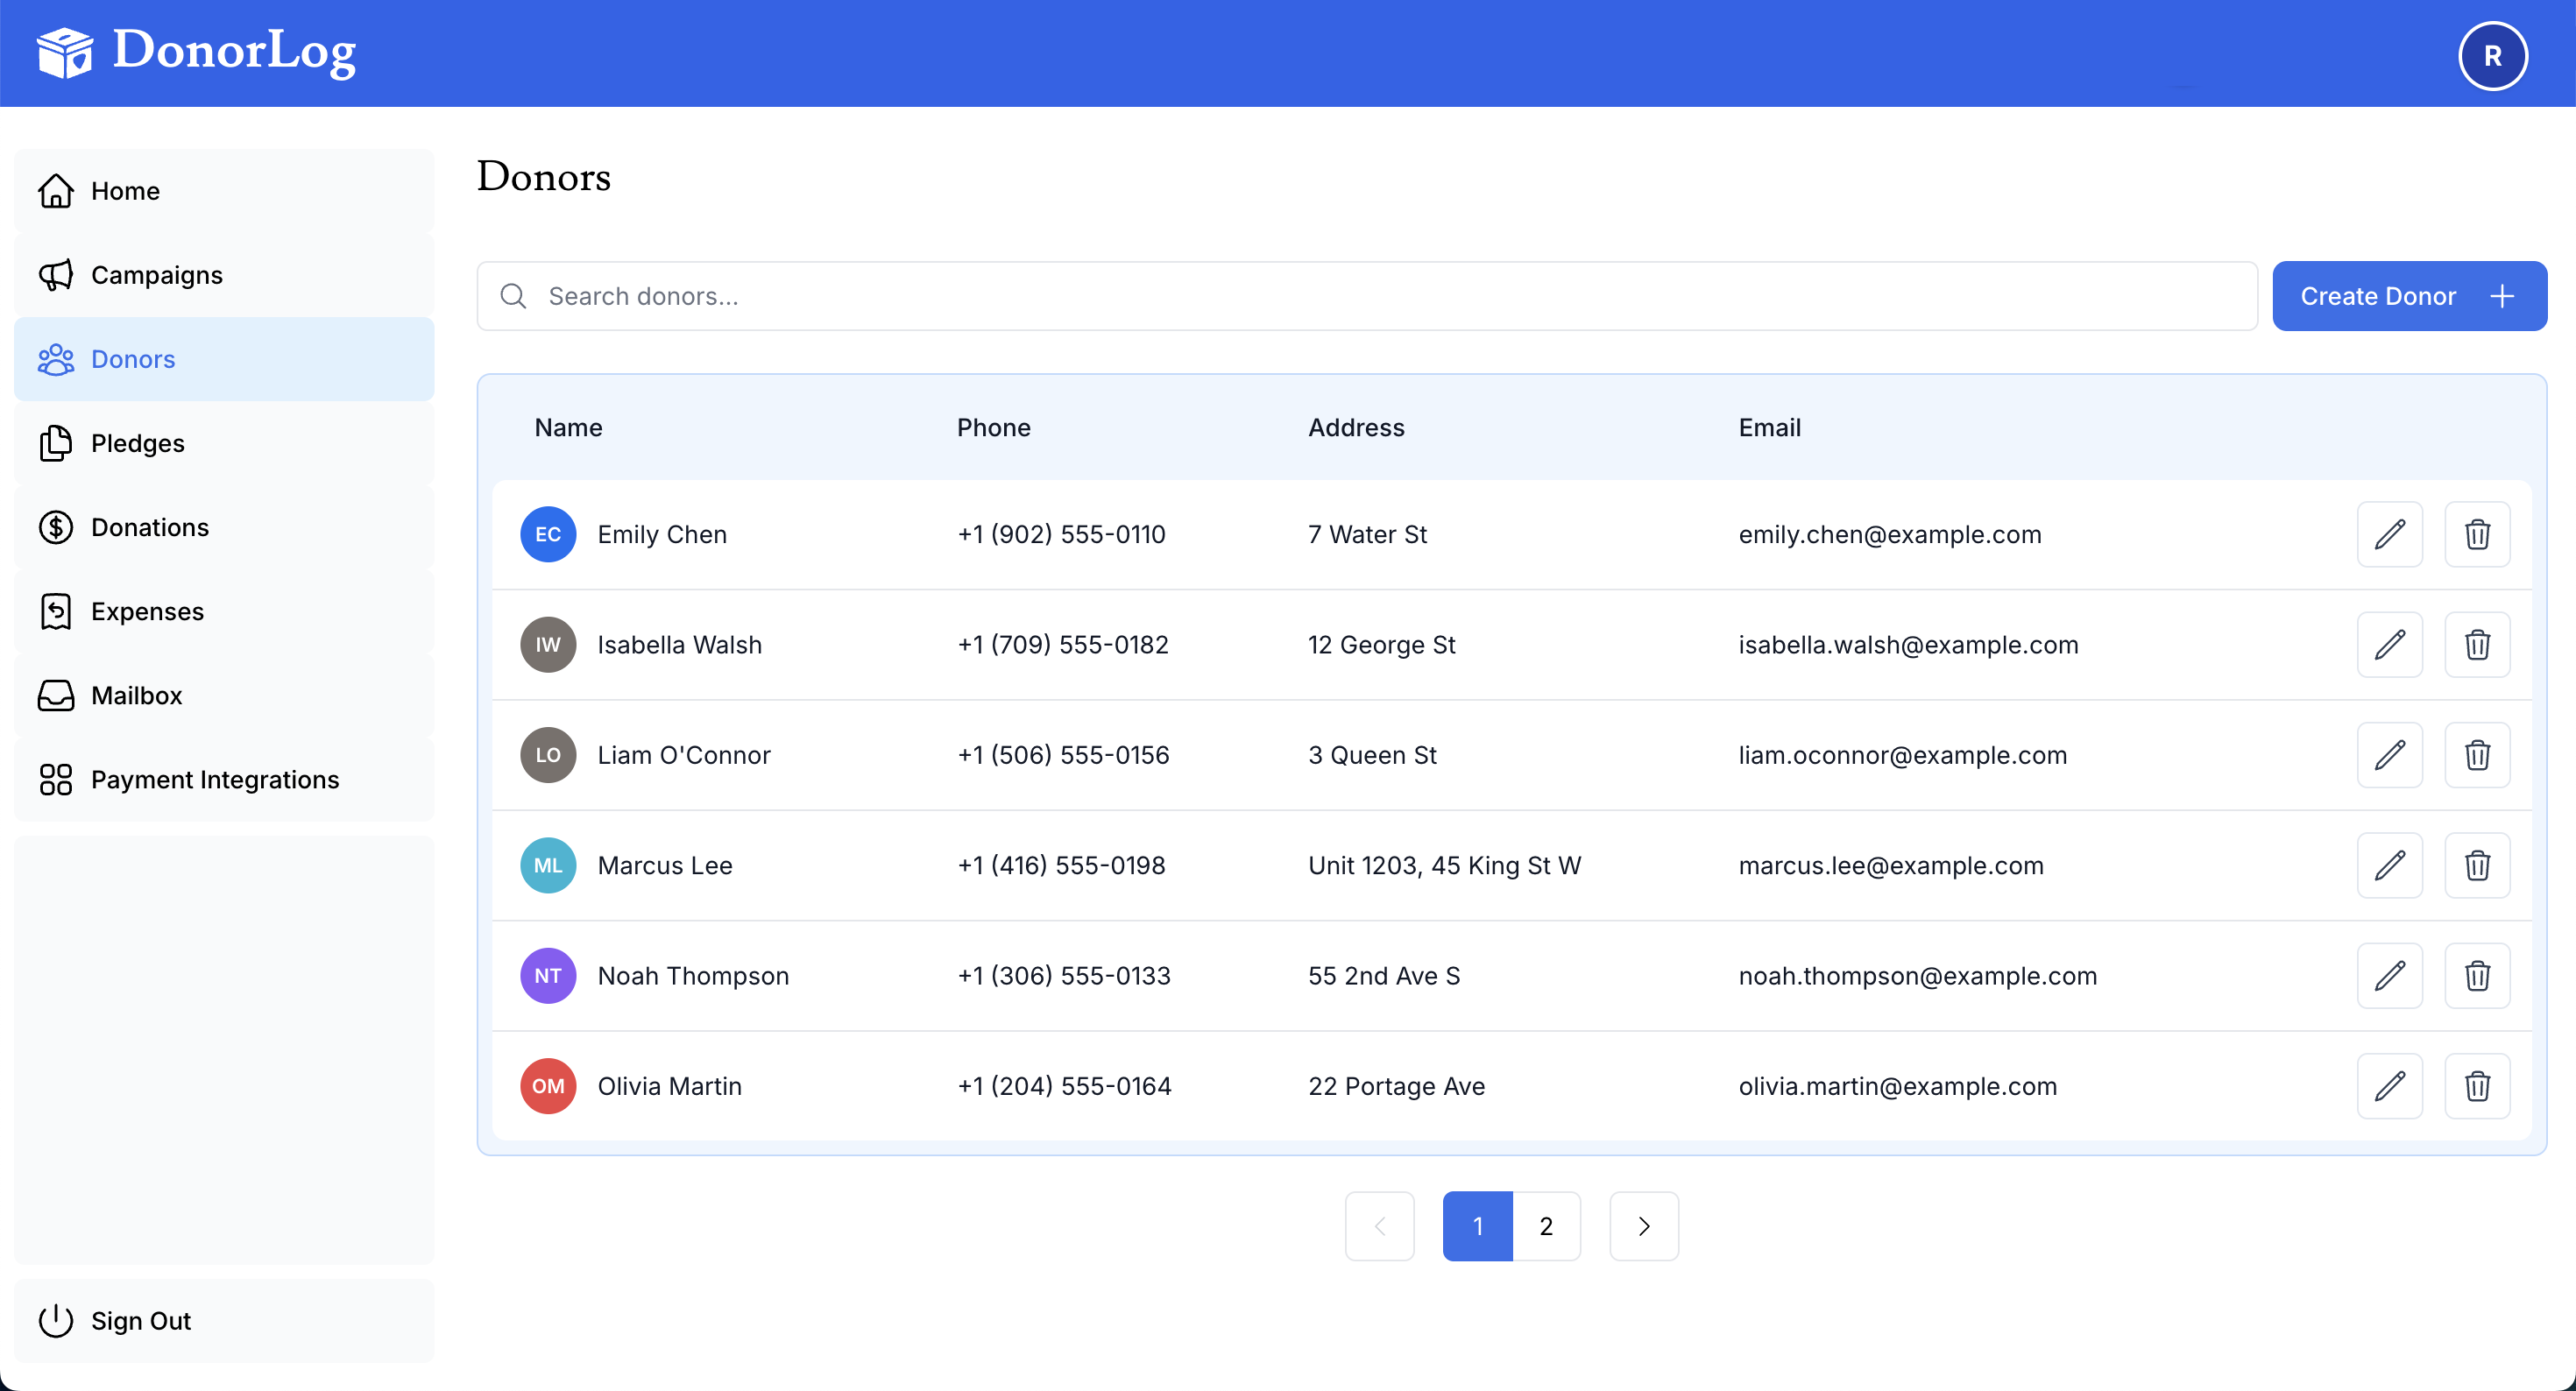
Step 1: Navigate to Donors
- Click on "Donors" in the main navigation menu
- You'll see a list of all existing donors
Step 2: Open the Create Donor Form
- Click the "Add New Donor" button (usually at the top right)
- A form will open for entering donor information
Step 3: Fill in Required Fields
Enter the required information:
First Name: John
Last Name: Smith
Phone Number: +1 (555) 123-4567
Address: 123 Main Street
City: Toronto
Province: ON
Postal Code: M5H 2N2
Step 4: Add Optional Information
If available, add:
Nickname: Johnny
Email: john.smith@example.com
Step 5: Save the Donor
- Review all the information you've entered
- Click the "Create Donor" button
- You'll see a success message confirming the donor was created
- The donor will now appear in your donors list
Tips for Creating Donors
Duplicate Checking
DonorLog will check if a donor with the same name and email already exists. If a duplicate is found, you'll see a warning message. This helps prevent creating duplicate donor records. Always search for existing donors before creating a new one.
Email Addresses
While email is optional, it's highly recommended to include it because:
- Tax receipts can be emailed automatically
- You can send donation confirmations
- Email communications are more efficient
- Reduces postage costs for mailing receipts
Address Format
Use the complete mailing address as it appears on mail. This ensures:
- Tax receipts are sent to the correct address
- Mailings reach the donor
- CRA compliance requirements are met
Phone Numbers
Include the country code for international numbers:
- Canada/US: +1 (555) 123-4567
- UK: +44 20 1234 5678
Editing Donor Information
After creating a donor, you can always edit their information:
- Find the donor in the donors list
- Click on their name or the edit icon
- Update any fields
- Click "Save Changes"
📖 Learn more: Editing Donors
Searching for Donors
If you have many donors, use the search function:
- Go to the Donors page
- Type in the search box (name, email, or phone)
- Results will filter as you type
📖 Learn more: Searching Donors
What's Next?
After creating a donor, you can:
- Record a donation for this donor
- Create a pledge for recurring donations
- View donor details to see their donation history
- Generate a tax receipt for their donations
Common Questions
Q: Can I create a donor without an email address?
A: Yes, email is optional. However, you won't be able to email tax receipts to donors without email addresses.
Q: What if I make a mistake when creating a donor?
A: You can always edit the donor information later. Just find the donor and click edit.
Q: Can I delete a donor?
A: Yes, but be careful. Deleting a donor will also remove all associated donation records. Consider editing instead of deleting.
Q: How do I handle organizations as donors?
A: Organizations can be added as donors. Use the organization name as the "First Name" and leave "Last Name" blank, or use "Organization" as the last name.
Ready to create your first donor? Go to the Donors page and click "Add New Donor"!